All plans
Your first client project
Set up your workspace, invite a client, and take the first piece of work from scope to delivery.
Start with your business details
- Open Settings and check your name, company, and email address.
- Decide which single client project you will bring into KlientLab first.
- If colleagues will work with you, the workspace owner can invite them from Team on Business. Give each person their own account.
Add the client before creating the work
Open Clients. Add a client record if you are still preparing the workspace, or invite the client when you are ready for them to sign in. Adding a contact and giving them portal access are separate steps. Check their email address before sending an invitation.
Choose one starting point
Scope still needs approval? Open Quotes → New Quote. Add the client, scope, and priced phases. Saving a quote creates its own draft project and phases, so do not create a second project for the same quote.
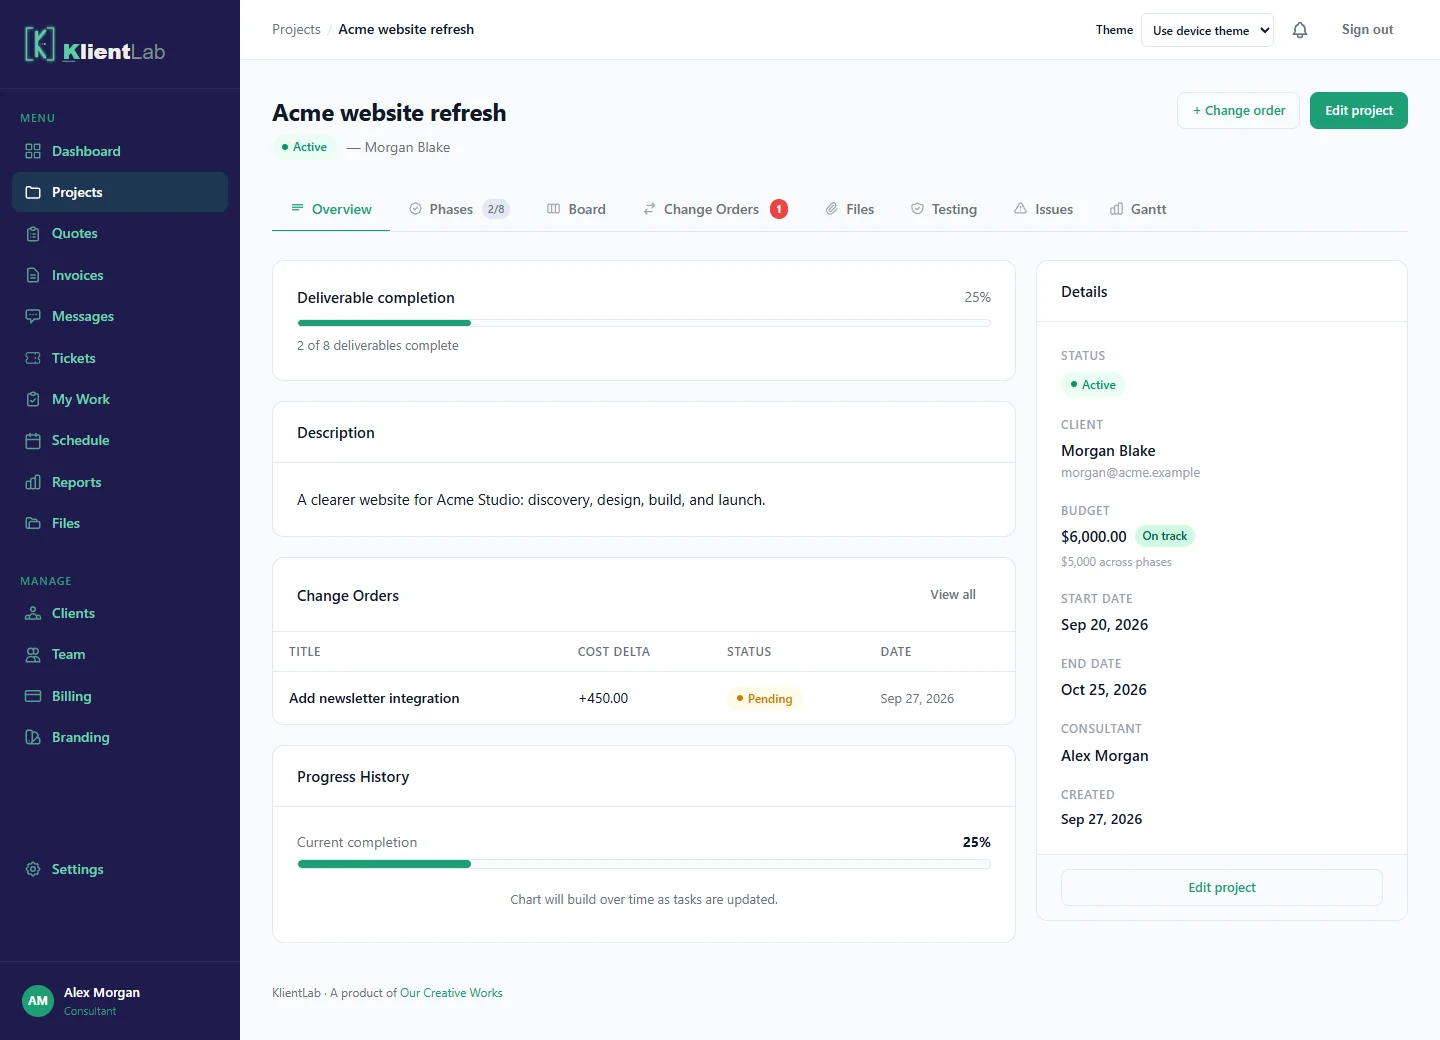
Work is already agreed? Open Projects → New project. Choose Website delivery, IT rollout, Consulting engagement, or a blank project. Set the client, dates, and budget, then review the starter deliverables.
Make the next action obvious
- Open the project’s Phases tab.
- Give each deliverable a clear finish line, owner, and due date.
- Use a deliverable comment for feedback on that item, and Messages for a broader conversation.
- Ask the client to sign in and review the project. Their view is different from your team’s workspace.
Get ready to invoice
Free lets you explore quotes, the client portal, and draft invoices. Sending invoices, uploading files, and change orders require Pro or Business. Before collecting online payments, open Settings and complete Stripe setup. Your KlientLab subscription and the Stripe account receiving client payments are separate.
Your first-project checklist
- The correct client is attached to the project.
- The client can sign in using their own invitation.
- The scope is agreed, and the next deliverable has an owner and a date.
- You know which items still need a client decision.
- Payment setup is complete before you send a payable invoice.